How To Repair Mortar Joints
Learning to repair mortar joints will help you prevent water and structural damage to your home. With the right tools, you can repair mortar joints faster. When masonry joints start crumbling, things get ugly fast, and before you know it, the bricks are too loose and the water starts seeping behind your handyman Mesa.
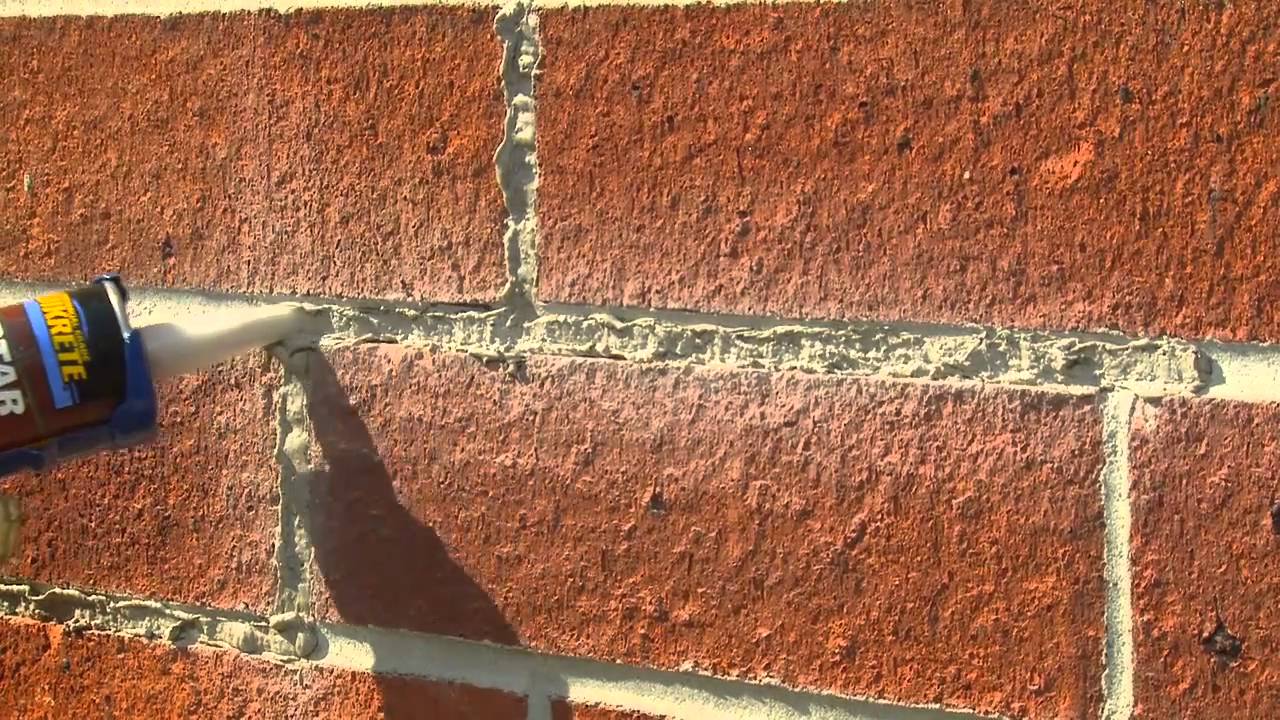
Tuck pointing is an easy way of repairing the joints on your own. If you do not do this, the joints will keep deteriorating and you will even have bees making a home in the mortar holes. This is not an expensive process. Simply find some free time and get the handyman in Mesa AZ repairs done.
The following are some steps that will help you repair retaining walls, chimneys and brick walls. However, take note that in the case of a shifting foundation, tuckpointing will not fix the wall cracks or crumbling bricks. For those, you might need to hire an expert.
Get The Required Tools And Materials
You must have a 4 – inch or a 4 ¼ inch diamond blade. While you can get one of these on a lease, it’s better to buy one since it only costs a few dollars. Visit the nearest home center and get some specialty hand tools like a tuck pointer and a brick trowel.
You will also need a masonry jointer in case your mortar joints are concave or a joint raker for flat joints, and a cold chisel, hammer, mortar mix and a rotary hammer drill.
Getting Started
With only a few joints to deal with, it’s easy to get things done. However, if the damage is extensive, you must start with a small section so you know the level and extent of damage before you start chopping off the entire wall. Remember that after mixing mortar, you have between 30 and 60 minutes to work on a section.
Dealing With Dust
This is a project that’s very dirty and dusty, especially when grinding the joints. Have a drop cloth on site and you will only have to spend a few minutes to clean-up after the work is done. Without the drop cloth, you will spend hours. Make sure that you alert your neighbors of the project and keep the windows closed.
Grinding The Joints
For horizontal joints, grind along the bottom and the top. Make sure you grind as close to the bricks as possible. The damaged material must be completely cut and removed before you can add new mortar in the joints.
It’s recommended that you start from the corners and then work your way inwards. This way, you will not heap unnecessary pressure on the bricks at the corner, which can easily knock them off the wall.
Hammering The Mortar
While chiseling the mortar out, move the rotary hammer drill along the joints. Carefully pound the mortar from the joints. It’s easier to remove the mortar with a drill but you must be very careful not to knock the bricks out because the drill is a powerful tool.
In case you accidentally knock off the bricks, just use the chisel to remove all the mortar, refill the joints and then reset the bricks.
With mortar flying all over the place, this can be a dangerous process. Therefore, make sure you have the right eye and ear protection gear.