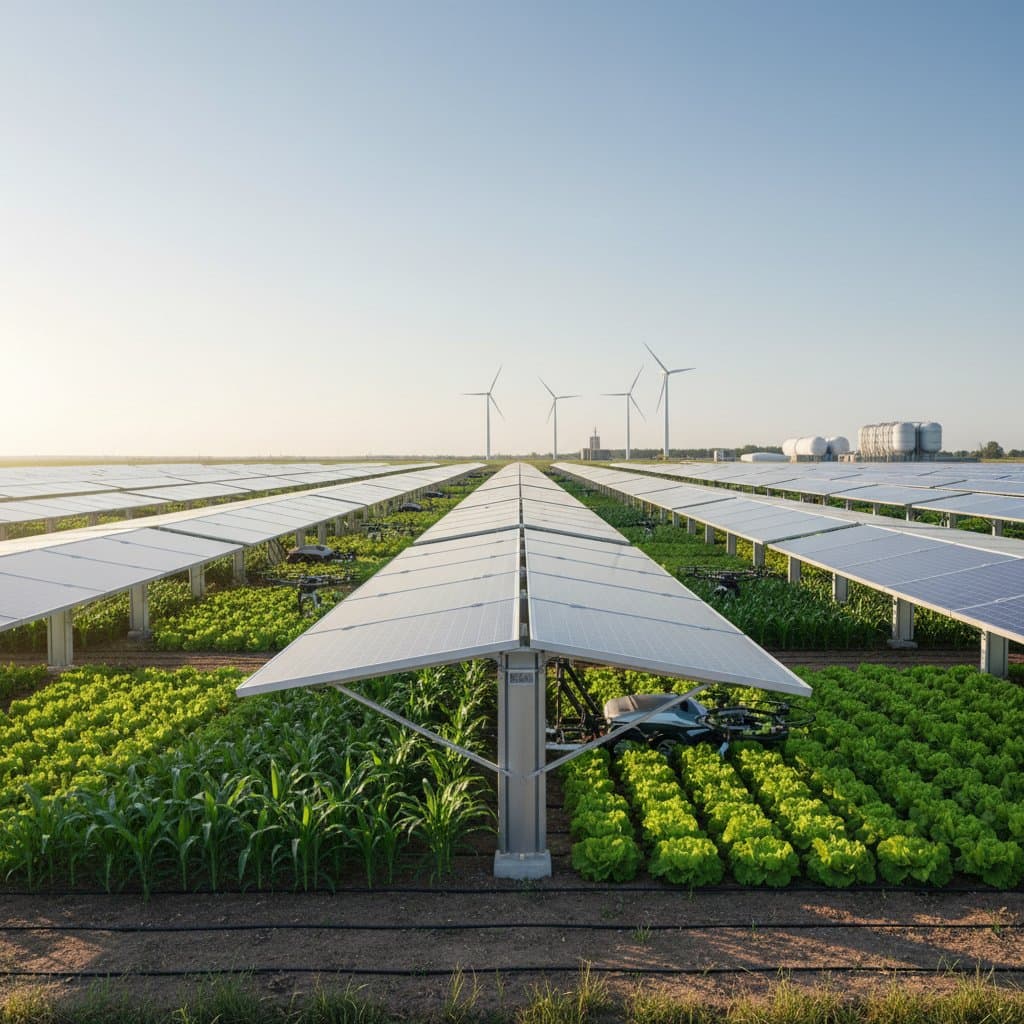
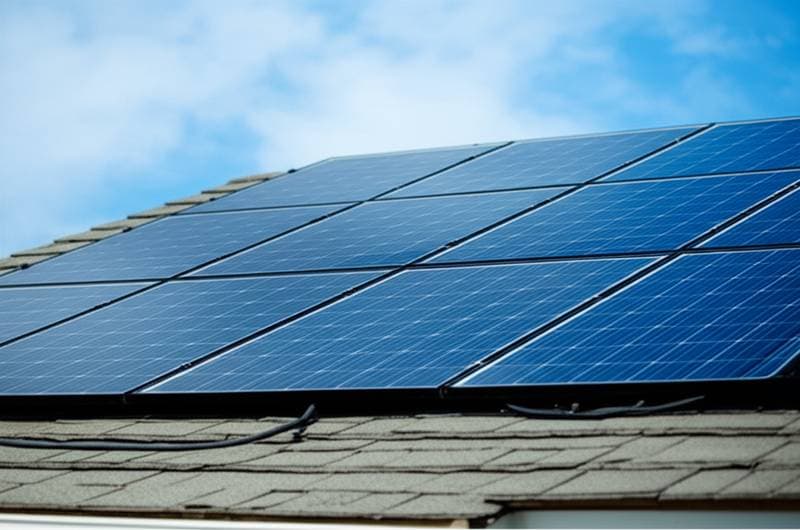
Solar Panels and Crops Share Land in Agrivoltaics
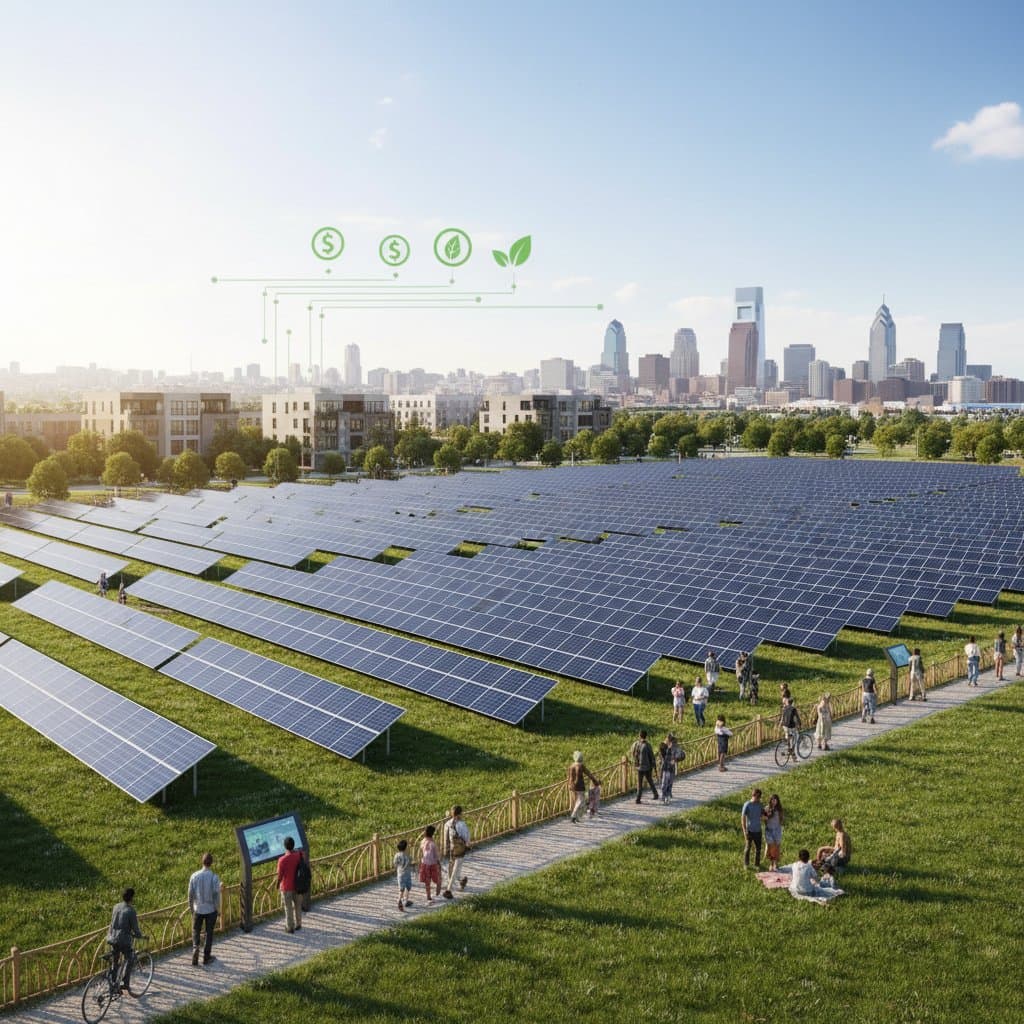
Agrivoltaics redefines land use in 2025 by integrating solar energy production with agriculture. Elevated panels offer shade to crops, reduce water needs, and maintain yields, while generating renewable power. This approach delivers dual benefits of income, resilience, and environmental gains for farmers and communities.
By Robert Fisher
4 min read