DIY Solar Kits: Skip Installers, Save $8K in 2025
Homeowners across Philadelphia seek methods to reduce energy bills without committing to extensive construction or steep contractor fees. DIY solar kits deliver substantial savings and foster independence from conventional installers. Through meticulous planning, adherence to safe wiring protocols, and compliance with local permits, a self-installed solar system proves both lawful and dependable. Electrical safety and adherence to code standards direct every choice prior to any electrical connection.
Know When to Stop and Call a Licensed Electrician
Solar kits streamline numerous procedures, yet they fail to eliminate electrical dangers. Interaction with live wires, roof penetrations, or service panels risks electric shock, fire, or structural leaks when executed improperly. Engage a licensed electrician in these scenarios:
- Connection of the solar array to the main service panel requires professional handling.
- Upgrades to the service panel or addition of breakers demand expert intervention.
- Uncertainty in sizing conductors or grounding equipment necessitates consultation.
- Detection of heat, burning odors, or tripped breakers post-connection signals immediate professional review.
Licensed professionals confirm proper bonding, precise torque settings, and insulation reliability. Such verification aligns with the National Electrical Code and satisfies local permit mandates from the authority having jurisdiction.
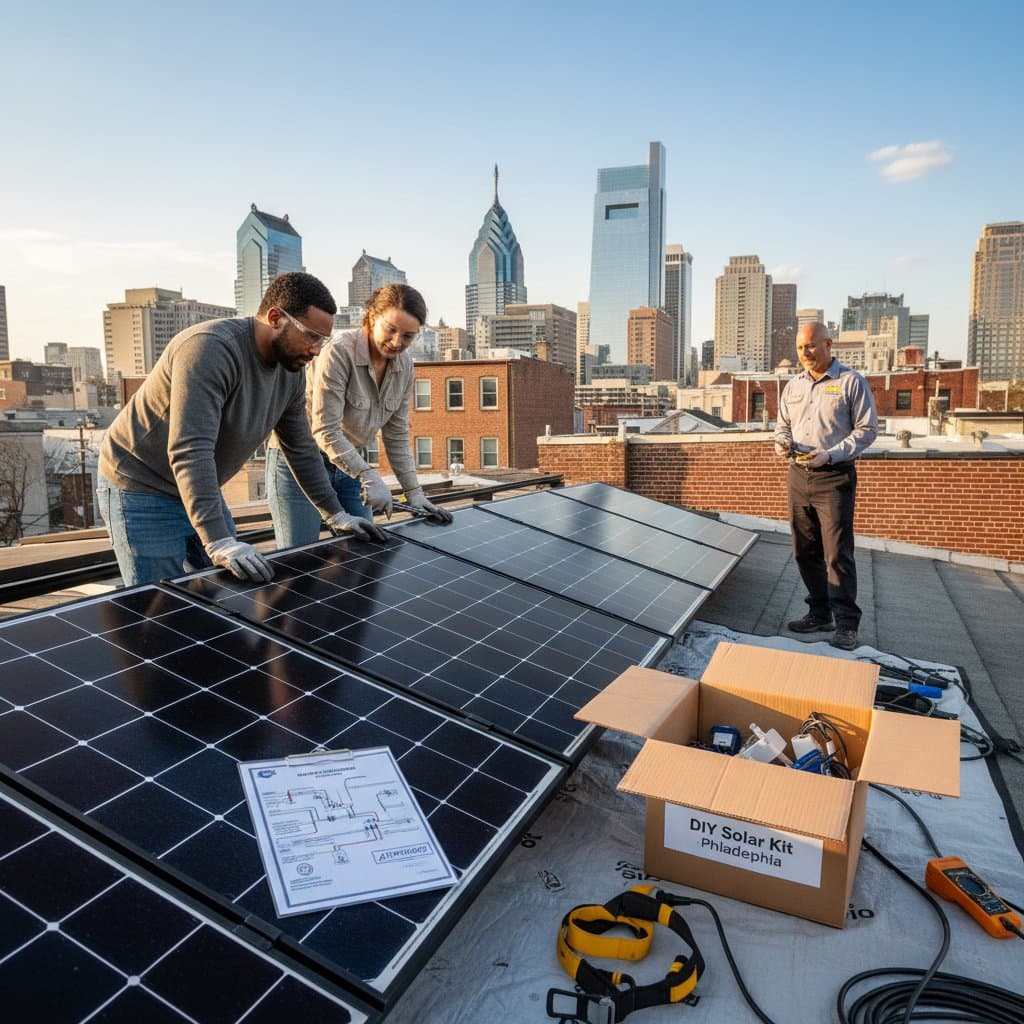
How DIY Solar Kits Work
A standard kit comprises pre-wired solar panels, mounting rails, inverters, and connectors. Certain kits incorporate monitoring devices or microinverters affixed directly to individual panels. The homeowner assembles the system per provided guidelines, followed by a request for final inspection prior to energization.
Main components:
- Solar panels: These capture sunlight and generate direct current electricity.
- Inverter: This device transforms direct current into alternating current suitable for household appliances.
- Mounting hardware: Hardware fastens panels to rooftops or ground-based racks securely.
- Wiring harnesses: These transmit current reliably from panels to the inverter.
- Disconnect switches and breakers: These enable safe isolation during maintenance or emergencies.
Cost Comparison and Savings Potential
Professional solar setups encompass labor charges, custom design, material markups, and permit coordination. DIY kits bypass the majority of labor expenses, potentially reducing total costs by approximately eight thousand dollars. Actual savings vary based on roof configuration, kit capacity, and regional permit charges. Numerous homeowners observe diminished energy bills as early as the initial cycle following successful inspection.
Savings hold value only if the system functions safely and optimally. Inadequate wiring or suboptimal panel tilt diminishes performance and may invalidate manufacturer warranties.
Step-by-Step Guide for Safe Self-Installation
- Evaluate the roof. Assess structural capacity to bear additional weight and inspect shingles or membranes for integrity.
- Plan the layout. Position panels to avoid shading and ensure adequate spacing for ventilation.
- Check code requirements. Consult the local building department for permit application procedures and inspection schedules.
- Install mounting rails. Secure with stainless steel fasteners and apply waterproof sealant to avert leaks.
- Attach panels. Tighten bolts to manufacturer-recommended torque values using a calibrated wrench.
- Run wiring. Employ UV-resistant cables, certified connectors, and protective conduit for exposed sections.
- Install the inverter and disconnects. Position equipment in areas shielded from moisture and excessive heat.
- Ground the system. Connect all metallic components via approved grounding lugs for safety.
- Schedule inspection. Withhold system activation until approval from the authority having jurisdiction.
Common Hazards and How to Avoid Them
Solar kits present an accessible appearance, but the electrical output from a modest array attains hazardous voltage swiftly. Recognize these risks:
- Shock risk: Direct current persists in panels even with the inverter deactivated.
- Fire risk: Insecure connections or undersized wires generate excessive heat.
- Roof damage: Faulty flashing leads to water infiltration and material degradation.
- Code violations: Omission of mandatory disconnects or labels postpones inspection clearance.
Confirm that every component carries residential-use certification and that wire gauges align with amperage demands.
Tools and Verification Equipment
Effective DIY solar installation hinges on precise measurements and controlled torque application. Assemble these essentials:
- Non-contact voltage tester for hazard detection.
- Torque screwdriver for secure fastenings.
- Digital multimeter capable of DC voltage and current readings.
- Stabilized ladder to access roof safely.
- Personal protective equipment such as insulated gloves and safety glasses.
Prior to enclosing panels or conduits, conduct continuity and polarity tests. Affix clear labels to all circuits to aid inspectors and simplify ongoing upkeep.
Code and Permit Considerations
Philadelphia mandates that solar installations conform to national standards alongside city-specific regulations. The authority having jurisdiction often requires submission of electrical schematics, structural plans, and component datasheets before permit issuance. Homeowners provide evidence of UL certification for all parts and verification that roof fixings withstand designated loads.
Several DIY kit providers supply permit-compliant kits with completed forms. These facilitate the process yet demand homeowner endorsement and inspection arrangements. Permits remain non-negotiable; they affirm safety, enable utility grid ties, and safeguard home marketability.
When DIY Makes Sense
DIY solar kits benefit homeowners proficient with fundamental tools, adept at instructional adherence, and aware of personal expertise boundaries. Ideal profiles include:
- Residences with single-story designs and uncomplicated roof geometries.
- Individuals capable of roof access without fall hazards.
- Those prepared to manage inspections and documentation.
Properties featuring intricate roofs, heavy shading, or prior electrical modifications benefit from professional involvement in portions or the entirety of the project.
Next Steps for Homeowners
Prior to kit purchase, collect roof dimensions, historical electricity consumption figures, and permit details from municipal offices. Evaluate offerings from no fewer than three suppliers providing technical assistance and explicit warranty conditions. Inquire if systems satisfy regional codes and utility interconnection protocols.
Post-installation, perform biannual maintenance routines. Rinse panels using deionized water and inspect cable fastenings for integrity.
Building Long-Term Energy Independence
A secure, regulation-compliant DIY solar initiative lowers expenses, enhances property appeal, and lessens reliance on utility grids. Success stems from thorough preparation, authenticated wiring practices, and acknowledgment of homeowner capabilities.