Introduction to Affordable DIY Solar
Homeowners in Philadelphia seek ways to reduce energy costs amid rising utility bills. A DIY solar system under $10,000 offers a practical solution for generating clean power. This guide explores the essentials of building such a system while emphasizing safety and compliance.
Such installations can offset a significant portion of household electricity needs. Proper planning ensures the project aligns with local regulations. Readers gain insights into components, steps, and professional intervention points.
Key Components for a Budget-Friendly System
A basic DIY solar setup includes solar panels, an inverter, batteries, and mounting hardware. Select panels with at least 300 watts each for efficient output in Philadelphia's variable sunlight. Aim for 1,000 to 2,000 watts total to stay under budget.
Inverters convert direct current from panels to alternating current for home use. Choose a pure sine wave model rated for your system's capacity. Batteries, such as lithium-ion types, store excess energy for evening use; a 5 to 10 kilowatt-hour bank suffices for essentials.
Mounting racks secure panels on roofs or ground. Use aluminum frames for durability against local weather. Wiring kits with fuses and breakers protect the system from overloads.
Planning Your Installation
Assess your home's energy consumption by reviewing utility bills. Identify high-use appliances to prioritize powering. Philadelphia's average annual sunlight supports 4 to 5 peak sun hours daily, informing system sizing.
Check roof orientation; south-facing slopes maximize efficiency. Obtain permits from the Philadelphia Department of Licenses and Inspections early. Budget allocation: 50 percent for panels, 20 percent for inverter and batteries, 15 percent for mounting, and 15 percent for tools and wiring.
Consult local incentives like federal tax credits to offset costs. These reduce effective expenses below $10,000. Document all purchases for rebate claims.
Step-by-Step Installation Guide
Preparing the Site
Clear the installation area of debris. Inspect the roof for structural integrity using a level and stud finder. Install flashing to prevent leaks around mounts.
Secure mounting feet with lag bolts into rafters. Space panels to avoid shading from trees or chimneys. Ground all metal parts to mitigate shock risks.
Mounting the Panels
Attach panels to racks using clamps. Connect them in series or parallel based on voltage needs. Use weatherproof connectors for Philadelphia's humid conditions.
Tilt panels at 30 to 40 degrees for optimal angle. Secure wiring with conduit to protect from rodents and elements. Test connections with a multimeter before full assembly.
Wiring and Electrical Integration
Route positive and negative leads to the charge controller. This device regulates battery charging to prevent overvoltage. Install the inverter near the main electrical panel.
Connect batteries in parallel for capacity increase. Add a disconnect switch for maintenance. Label all circuits clearly.
Final Connections and Testing
Link the inverter output to a subpanel for powered circuits. Verify polarity on all connections. Power on the system gradually, monitoring for faults with a voltmeter.
Run a full-day test to assess output. Adjust as needed for peak performance. Schedule an inspection to confirm compliance.
Safety Measures and Tools Required
Essential tools include a drill, wrench set, multimeter, and insulated gloves. Wear safety glasses and harnesses when working at heights. Shut off main power before any electrical work.
Understand basic electrical principles to avoid hazards. Use grounded outlets and GFCI protection. Keep a fire extinguisher rated for electrical fires nearby.
Monitor for arc faults during installation. These can ignite wiring. Follow OSHA guidelines for ladder use and fall prevention.
When to Call a Licensed Electrician
DIY suits simple off-grid or grid-tied systems without net metering. However, integrating with the home grid requires professional expertise. Electricians ensure compliance with National Electrical Code standards.
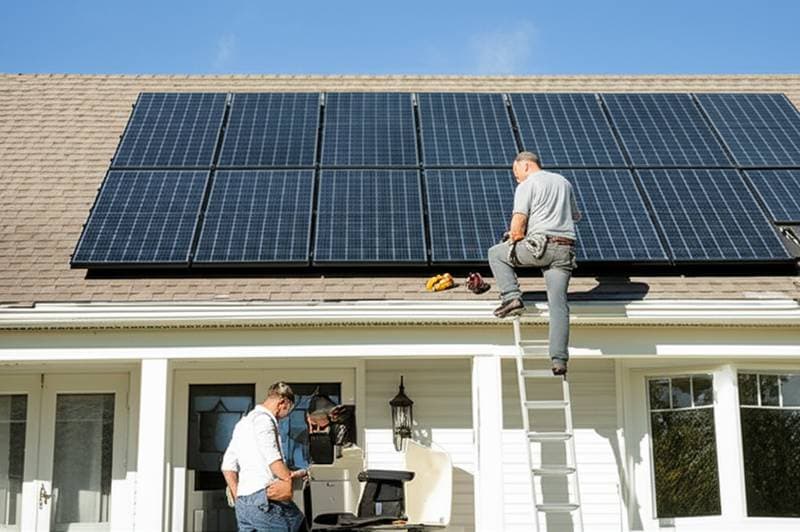
Call an electrician if your setup exceeds 1,000 watts or involves roof penetrations. They handle permitting for interconnected systems. In Philadelphia, licensed pros verify grounding and breaker sizing.
Seek help for troubleshooting issues like inverter failures or low output. Professionals install rapid shutdown devices mandated by code. Their involvement prevents voided warranties and insurance claims.
Staying Code-Compliant in Philadelphia
Local codes mandate UL-listed components for safety. Obtain a building permit for any structural changes. The Philadelphia Electrical Code aligns with NEC 2020 edition.
Inspections cover wiring integrity and system labeling. Non-compliance risks fines or system removal. Document all steps for inspector review.
Annual maintenance checks ensure ongoing adherence. Professionals can perform these to maintain certification.
Achieving Long-Term Savings and Independence
A well-executed DIY solar system recoups costs in 5 to 7 years through bill reductions. It enhances property value by up to 4 percent in the Philadelphia market. Reliable setups provide resilience during outages.
Regular cleaning and inspections extend panel lifespan to 25 years. Track energy production with monitoring apps. This data optimizes usage and future expansions.
Homeowners gain control over energy sources. Sustainable choices benefit the environment and wallet alike.