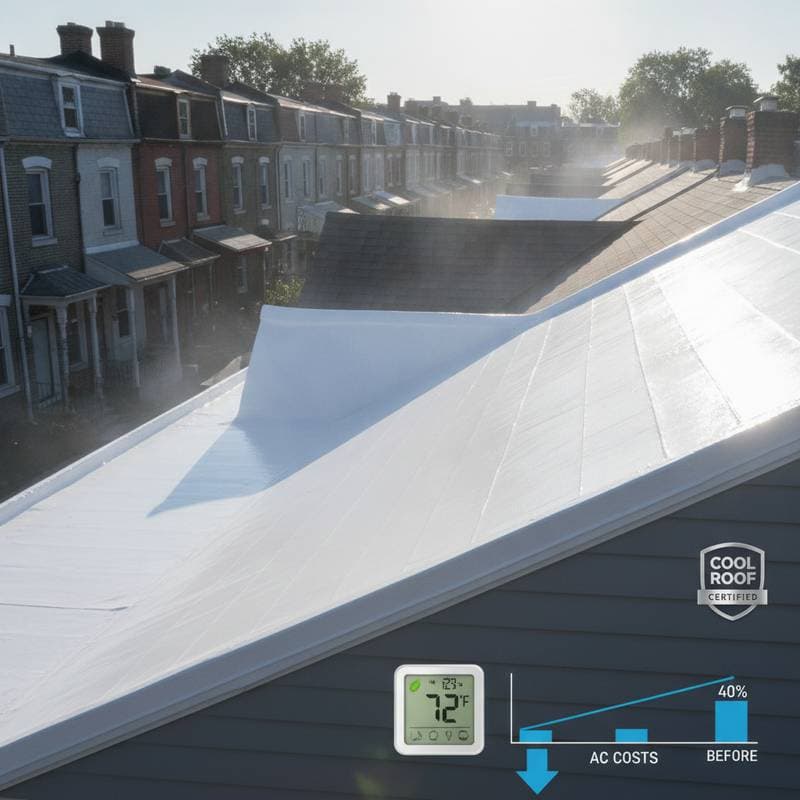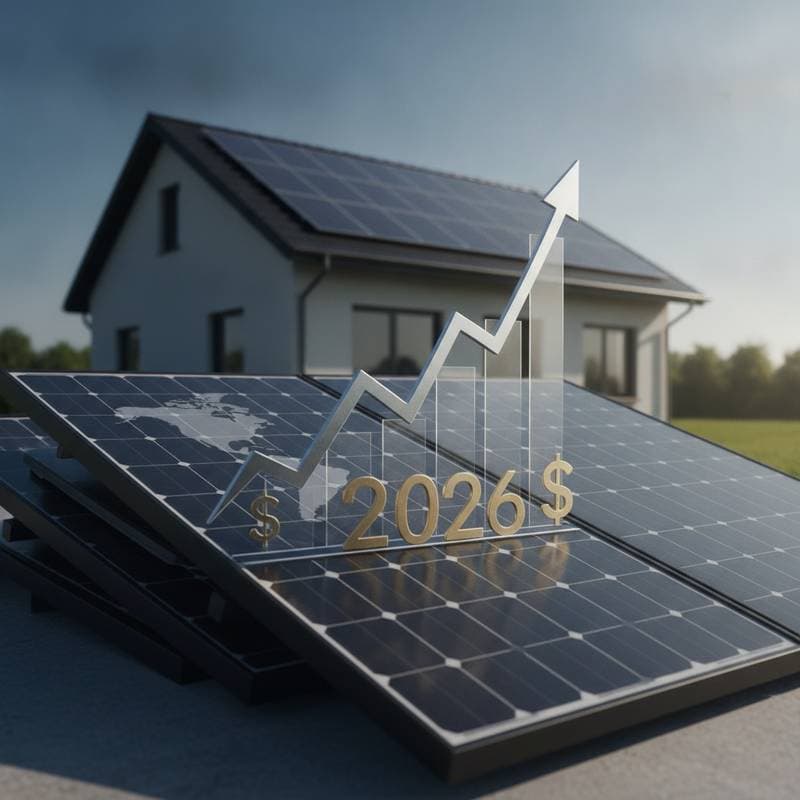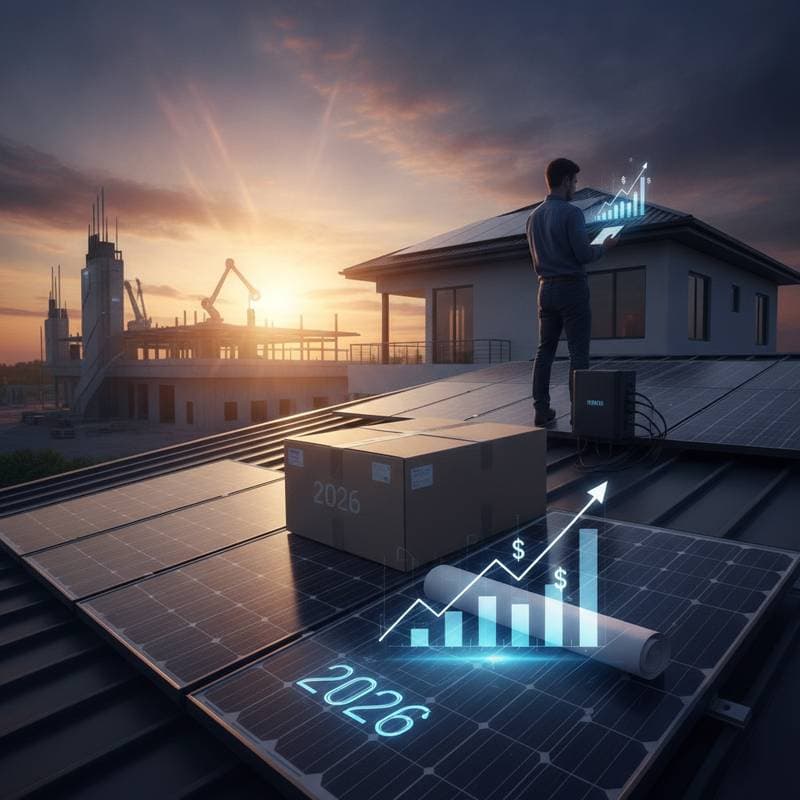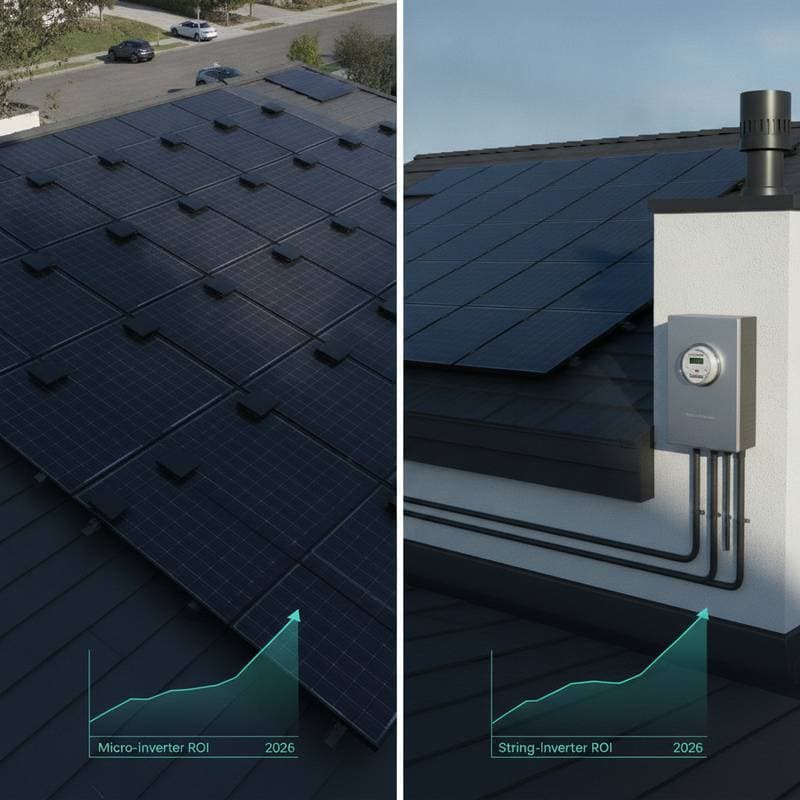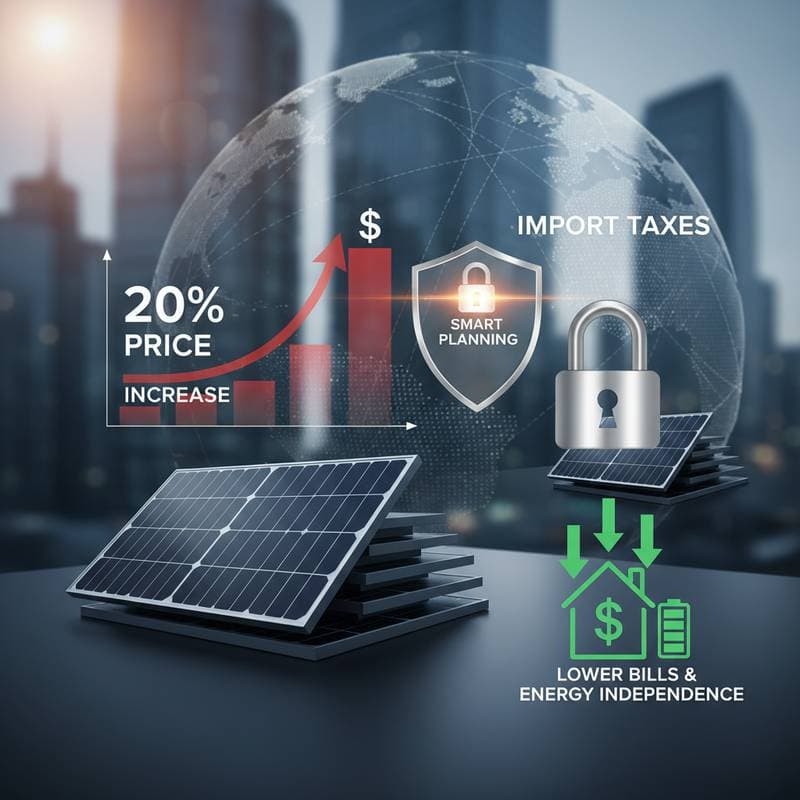
Tariffs Push Solar Panel Prices Up 25% in 2026
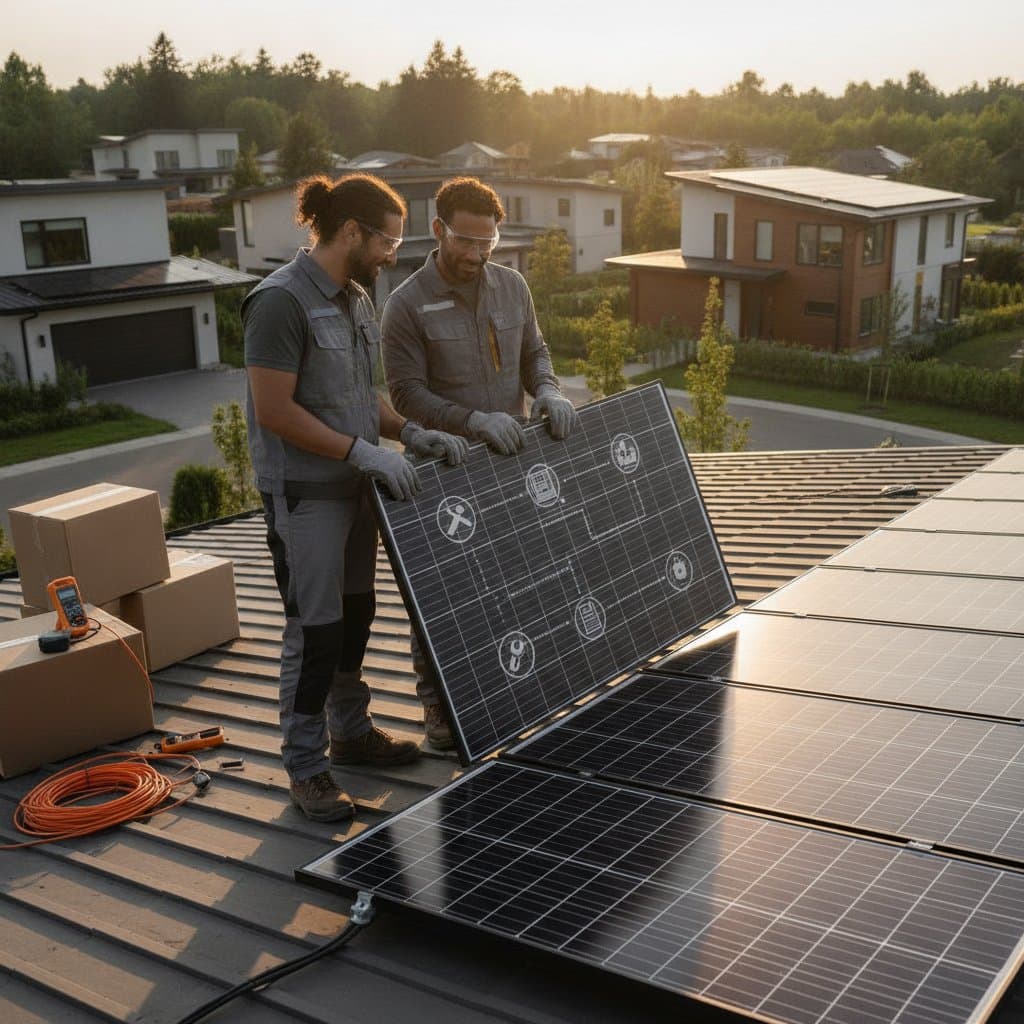
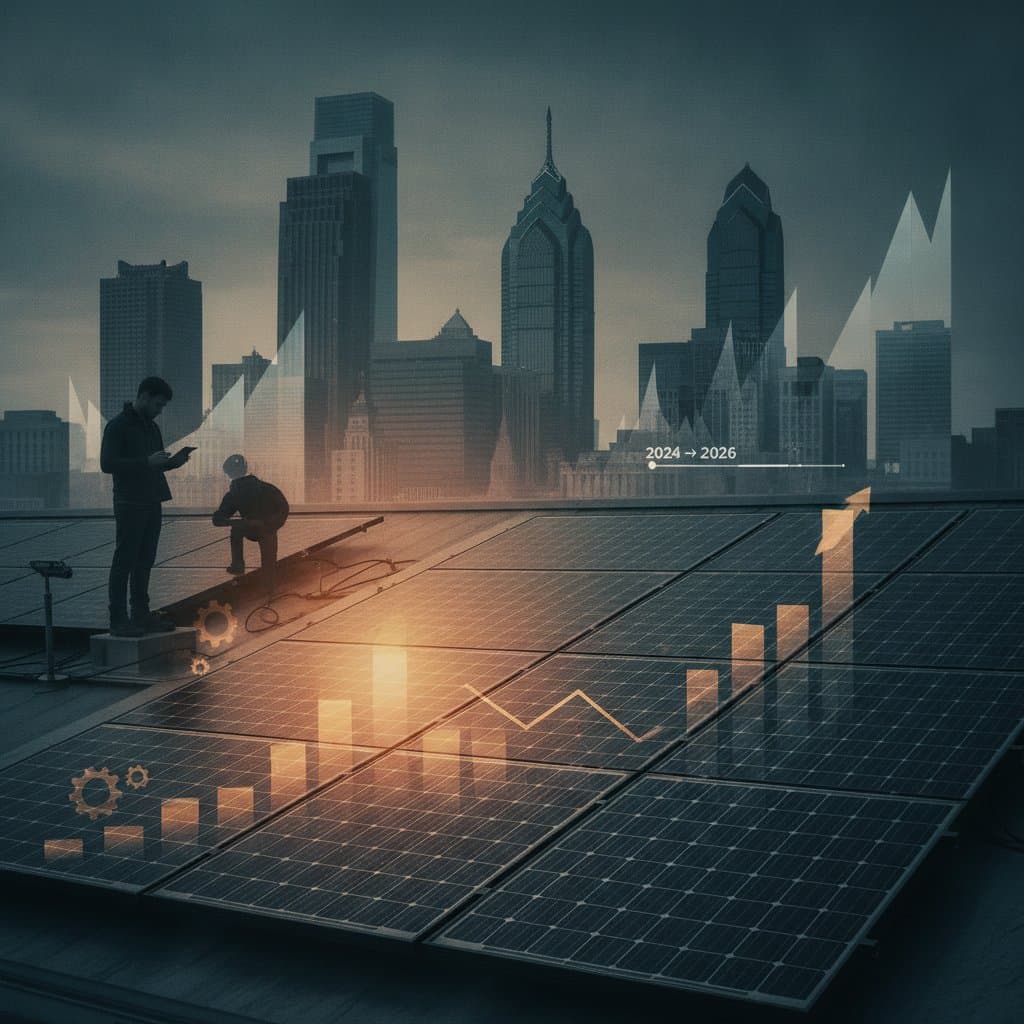
New tariffs will raise solar panel prices by 25 percent by 2026. Philadelphia homeowners can protect project costs and long term savings by understanding timing, financing, and contractor selection steps.
By Rich Macrae
3 min read