Solar Still Works Despite 40% Tariff Price Jump
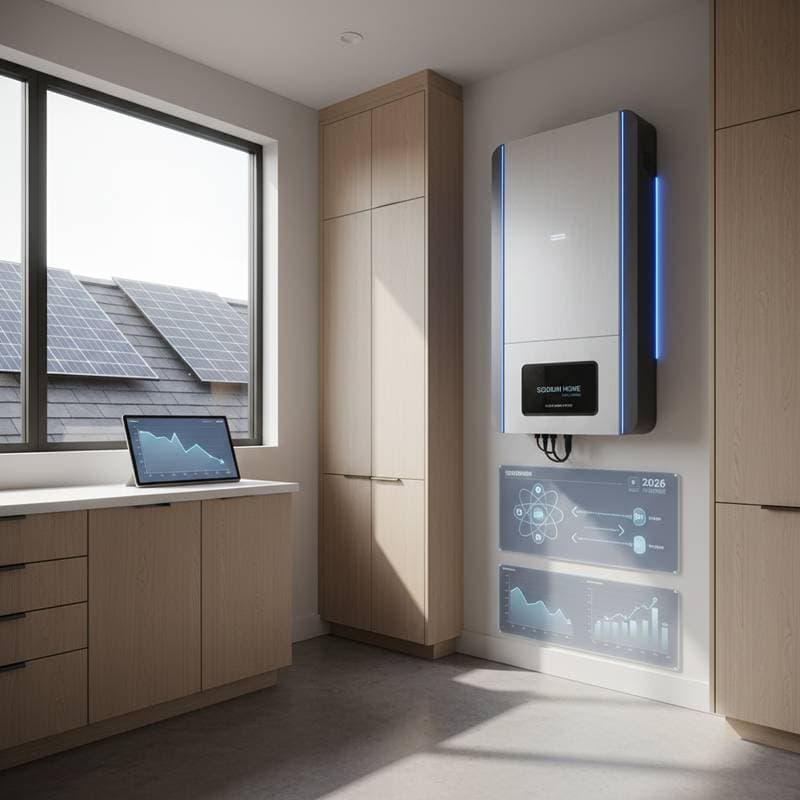
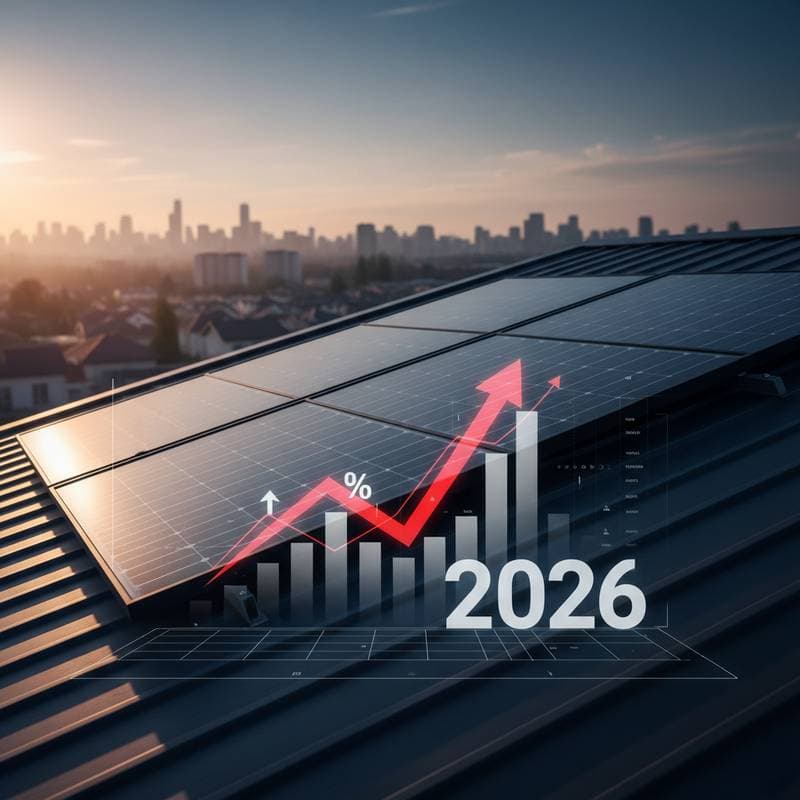
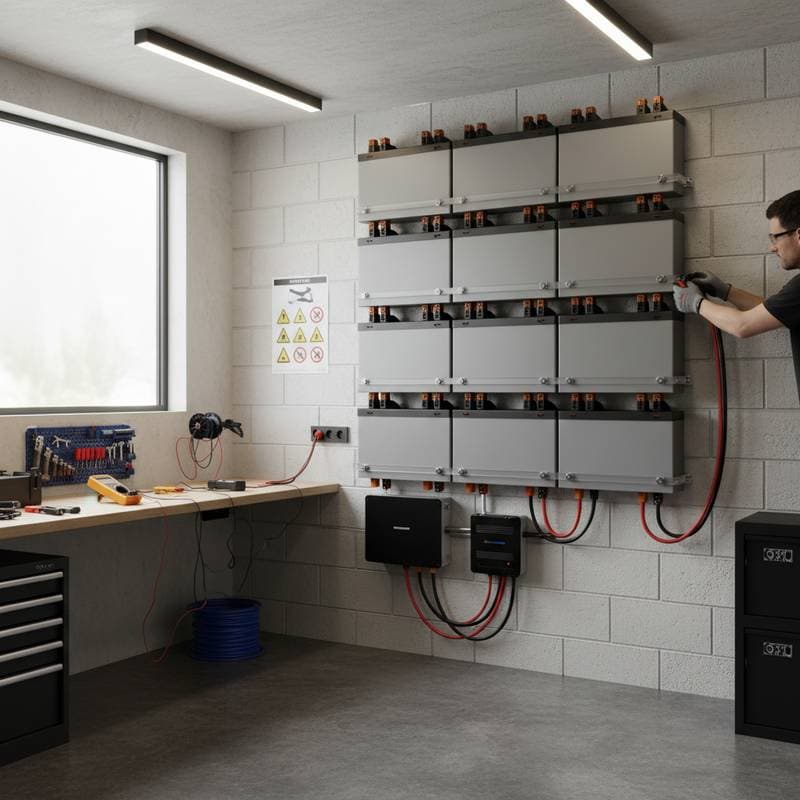
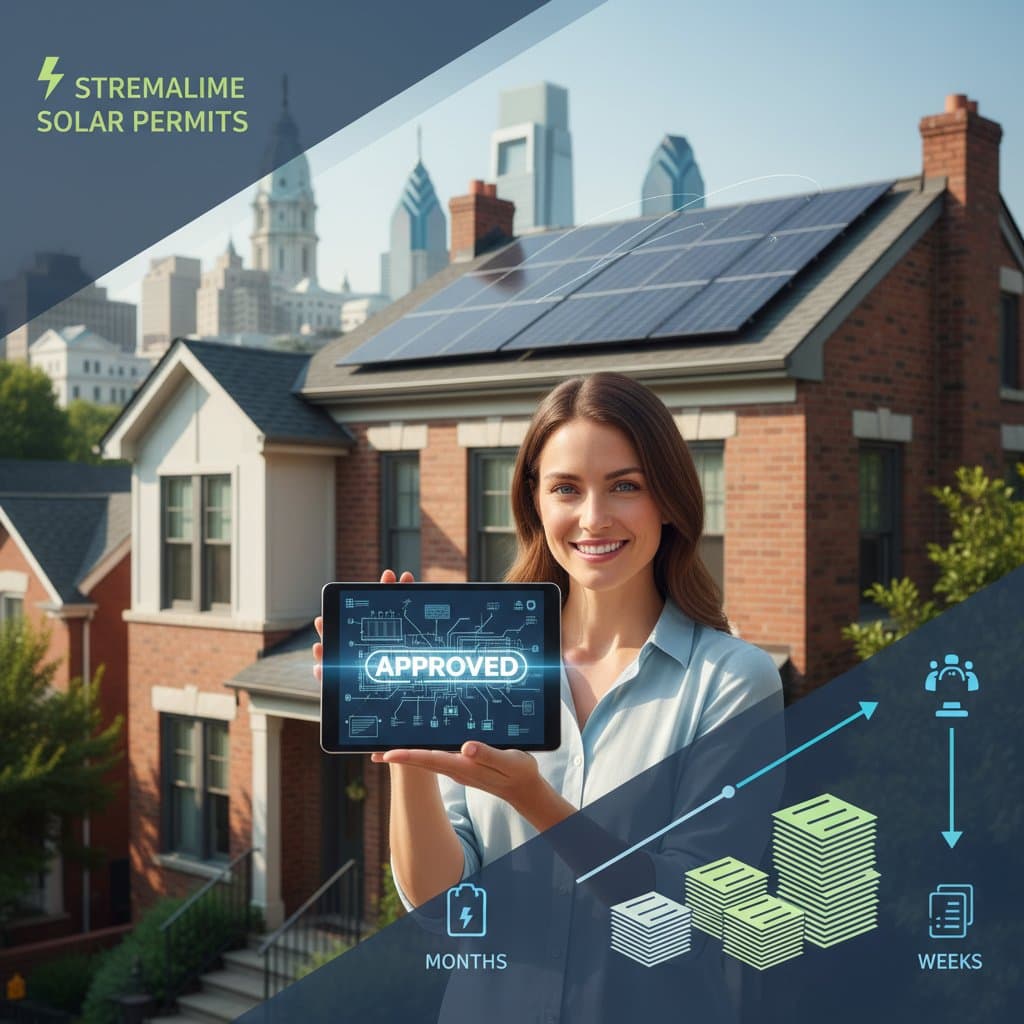
Upcoming 2026 tariffs may increase solar equipment costs by 40 percent, prompting homeowners to reassess timing and value. Solar installations continue to offer substantial long-term savings through strategic planning, federal incentives, and home efficiency enhancements. Early action, competitive quoting, and consideration of U.S.-made panels can mitigate higher prices and accelerate payback periods.
By Robert Fisher
5 min read