
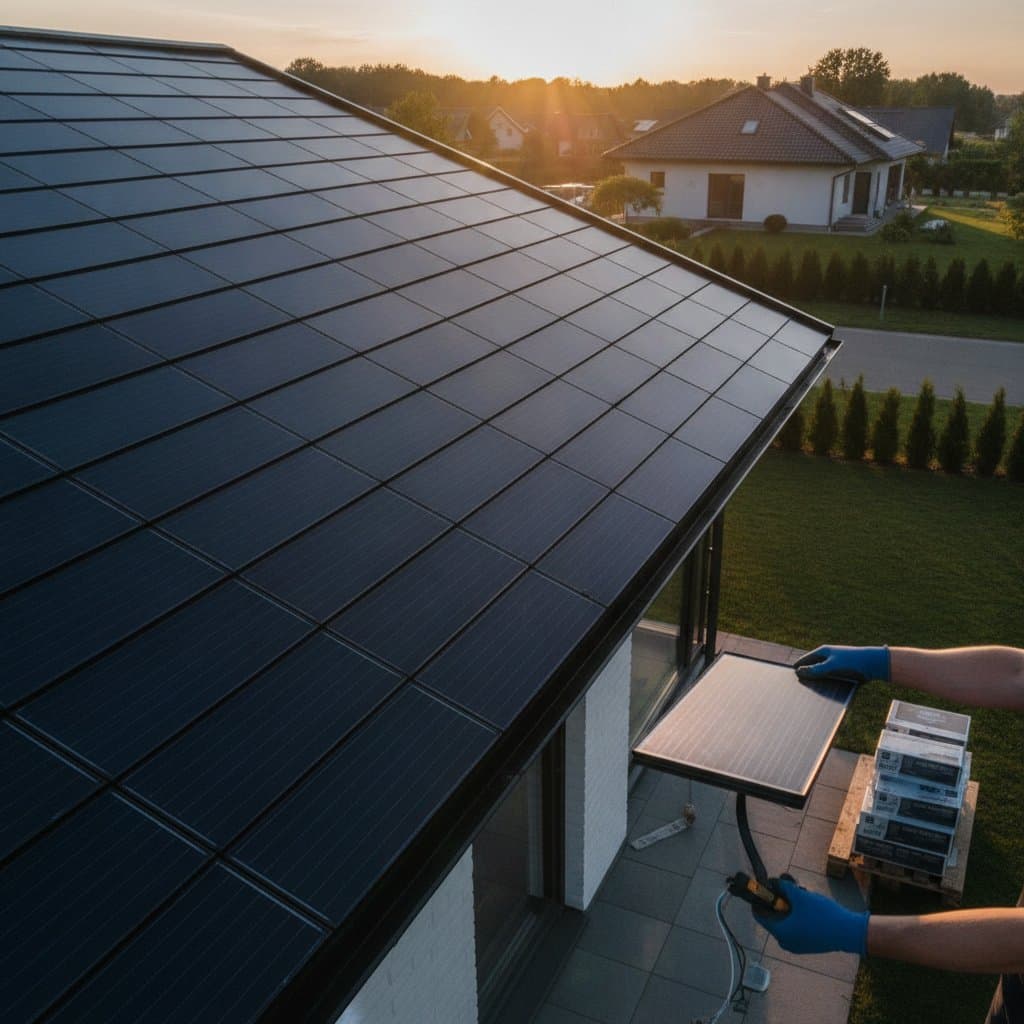
DIY Solar Shingles Costs and Installation Guide
Many homeowners explore solar shingles yet pause when the project appears intricate or costly. Integrated solar roofing has grown more attainable in recent years. Prices continue to decline while designs advance and new options support do it yourself approaches. This guide presents realistic expectations for a solar shingle project completed by a homeowner.
It addresses technology basics, current pricing, required skills, and decision factors for any property. Maintenance guidance, sequential actions, and common questions appear as well.
How Solar Shingles Work
Each solar shingle embeds thin photovoltaic layers, typically monocrystalline silicon, within durable glass or polymer. Sunlight striking the cells generates direct current electricity. Junction boxes on individual tiles link them into strings that feed an inverter converting power for home use.
The completed system connects to the main electrical panel and the utility grid when available. Battery storage can retain surplus energy for later use or outages.
Output varies with roof orientation, shading, temperature, wiring quality, and gradual efficiency loss of roughly 0.5 percent each year.
DIY Installation Process
Solar shingle work combines roofing techniques with electrical tasks. The sequence below outlines the main phases.
Site Assessment
Begin with a shade analysis using a solar pathfinder or mapping software. Note roof direction, slope, and nearby obstructions. Review twelve months of utility statements to establish average consumption.
Design and Layout
Sketch the array on paper or within design software. Identify inverter placement and conduit routes. Reserve clearance around vents and ridges for flashing.
Roof Preparation
Remove existing roofing if required and examine the deck. Replace damaged sections. Apply the specified underlayment and starter strips. Verify the surface remains clean and dry.
Installing Solar Shingles
Lay tiles row by row from the lower edge upward. Interlock each unit and secure it with corrosion resistant fasteners. Route wiring through junction boxes as work progresses.
Electrical Connections
Most installers engage a licensed electrician for inverter mounting, grounding, and panel integration. Local codes and permits govern this stage. Utility inspection often precedes final activation.
Commissioning and Monitoring
Test voltage and current after connection. Review production data through the inverter display or application. Confirm utility approval before the system exports power.
Solar Shingles Versus Conventional Panels
Solar shingles provide a seamless appearance yet may not suit every situation. The comparison below highlights key differences.
- Appearance: Solar shingles create an integrated surface while conventional panels remain visible.
- Efficiency: Shingles typically reach 14 to 18 percent while panels often achieve 18 to 22 percent.
- Cost per watt: Shingles carry higher initial expense.
- Roof replacement: Shingles serve as the new roof covering.
- DIY feasibility: Shingles present moderate complexity compared with simpler panel mounting.
Newer roofs favor panels for cost reasons. Roofs nearing replacement benefit from the combined function of shingles.
High Medium and Low Impact Upgrades
Solar projects fit within a broader set of home improvements.
High impact measures include solar shingles, heat pump systems, thorough insulation, and battery storage. Medium impact steps cover smart thermostats, attic sealing, variable speed pumps, and EV charging. Low cost starters involve LED bulbs, weatherstripping, and routine filter replacement.
These measures together increase savings and energy independence.
Preparing Your Installation
Collect energy records and measure roof dimensions. Conduct a shade evaluation. Obtain pricing from multiple manufacturers. Verify permit and electrical requirements. Review financing choices. Assess personal comfort with roofing tasks and plan to hire an electrician for final wiring. Schedule work during dry periods to limit moisture risks.
FAQ
1. How do solar shingles compare in lifespan to asphalt shingles?
Solar shingles last about as long as premium asphalt roofs, commonly twenty to thirty years, with power warranties covering most of that span.
2. Can I install solar shingles on a steep or complex roof?
Yes, yet steep pitches or multiple dormers increase labor and wiring demands. Flat or straightforward gable roofs remain simplest for do it yourself work.
3. What tools are needed for a DIY solar shingle project?
Standard roofing tools such as a nail gun, chalk line, ladder, and safety harness plus electrical tools for conduit and wiring meet most needs. Follow all manufacturer safety instructions.
4. Do solar shingles work in cloudy climates?
They generate power from diffuse light although output may decline 10 to 30 percent relative to sunny locations.